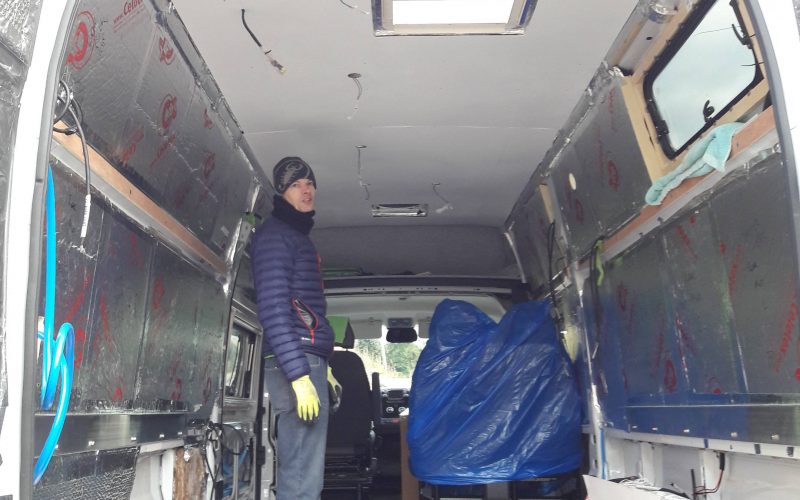
With the floor installed, we could move on to the ceiling.
We’ve gone with very thin ply (3mm) so that it doesn’t weigh a lot and can mould to the curve of the roof.
We found we could use two full size pieces at each end of the van, and then two thin pieces at the sides. The ceiling joins could then be hidden in cupboards and internal walls.
We templated the ceiling first with anitnox floor protection – lightweight so we could easily hold it up while marking cables and roof lights for cutting out of the ply. We also had to pre mark and drill all the holes for the screws, so that we knew they’d be going into the right roof battens and not through into our insulation.
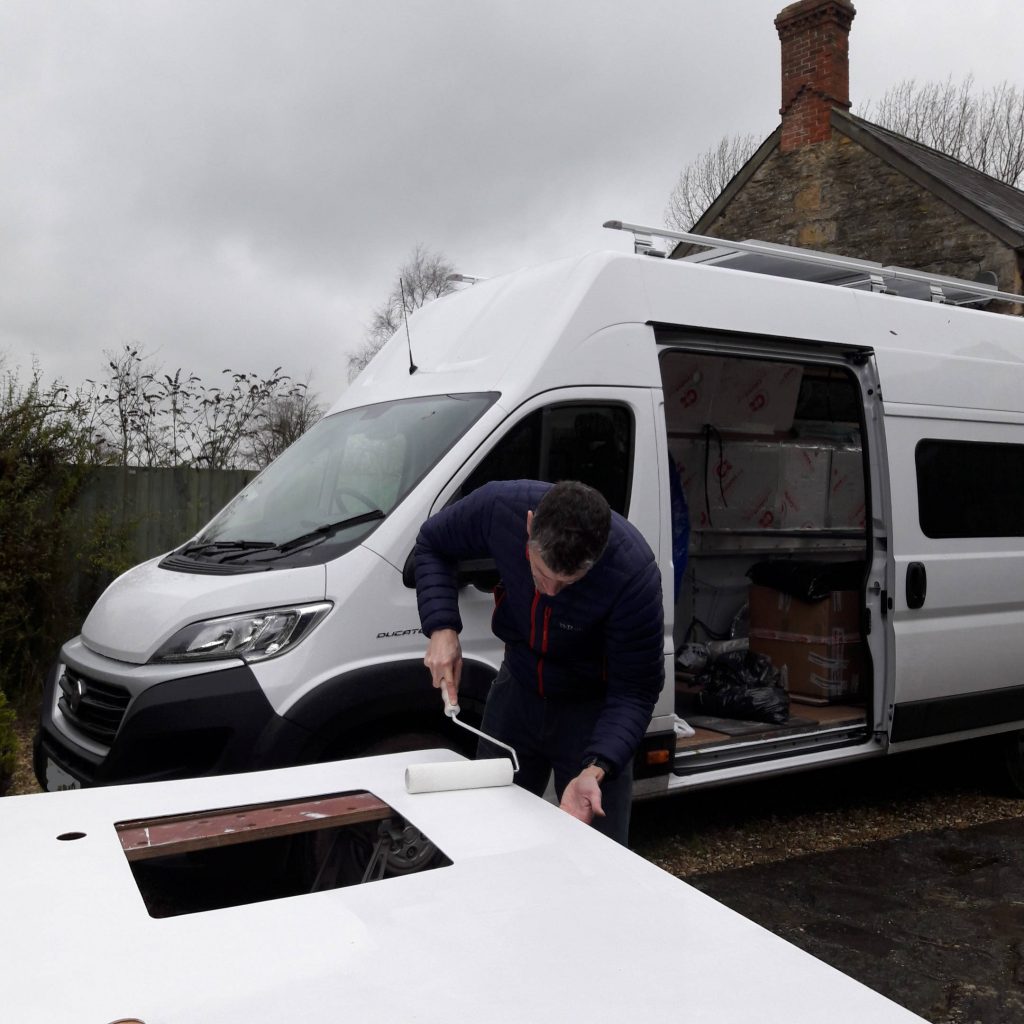
We treated the back of the ply with 3 coats of varnish and the interior side of the ply with 3 coats of white bathroom paint.
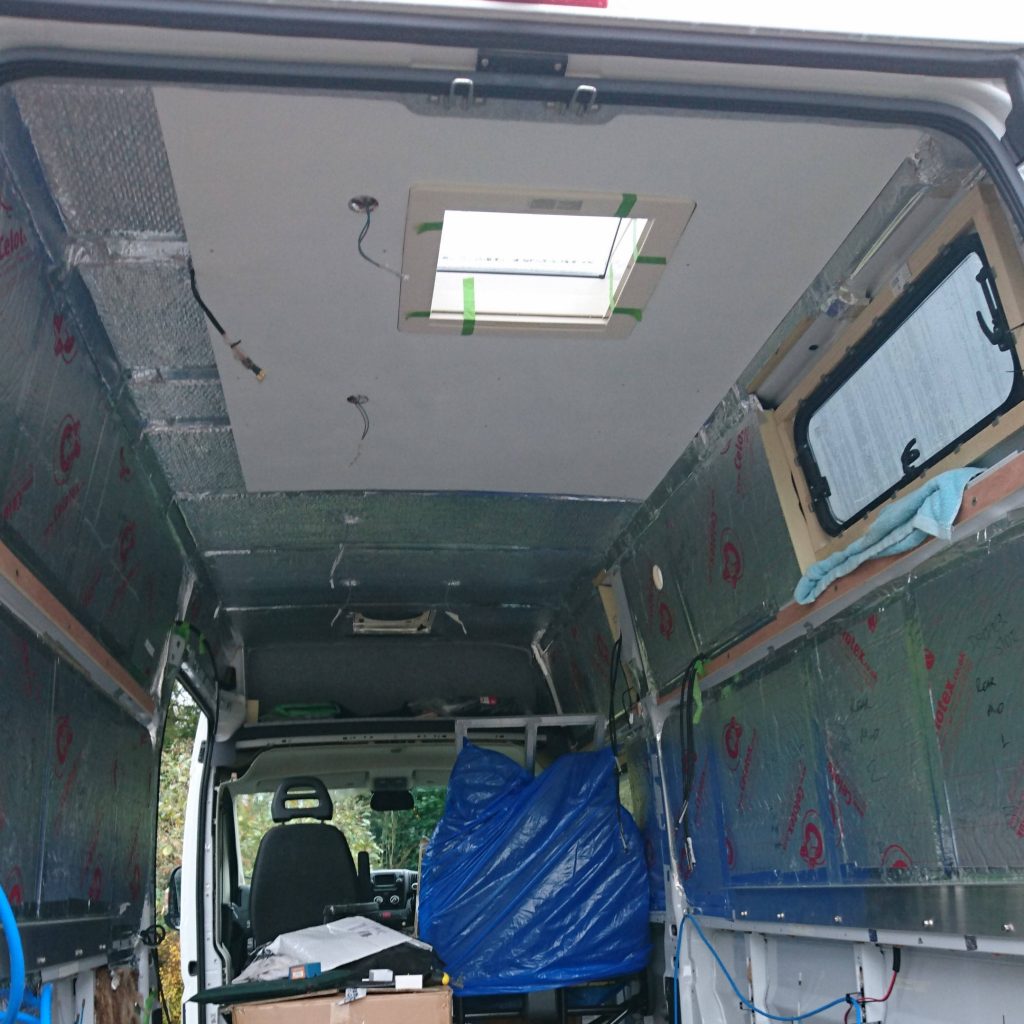
It was quite tricky lifting the large pieces in and holding them up to screw them in.
We then covered each little screw head with caulk and painted them over.
Ceiling done 😃🚐
Moving on to the ceiling